Use headers correctly and improve your site usability
Improve your site design and usability with this tutorial for using heading (h1 to h6). Build a free WordPress site and put these tips into practice!

Learn how to use headers (headings and subheads) properly on WordPress site and blog. Just for you to remember: when edited with code, tags <h1> to <h6> represents headers. However, you don’t need to use these tags, as you can add headers from a visual editor.
The advantages include visual and functional parts of your site. Headers affect design and usability. Here are some benefits:
- Facilitates title and topics identification on the page;
- Improves page’s appearance, which won’t have just undivided lines of text;
- Enables people with disabilities to understand content through reading software;
- Send structured content for indexing in search engines (SEO).
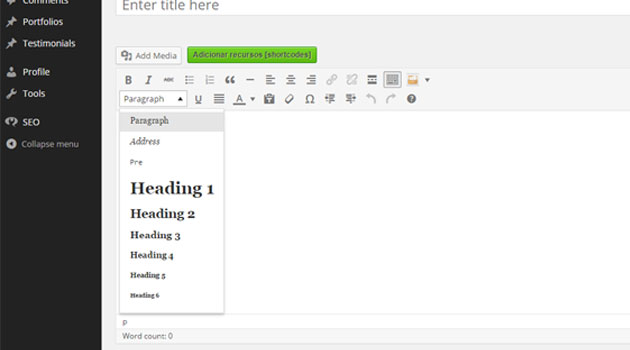
Now that you know the benefits of headings and subheads for your WordPress site or blog, we’ll show you how to insert it to the pages. Once in the text editor, you just have to select the text and the desired type of header in the toolbar, as we show above:

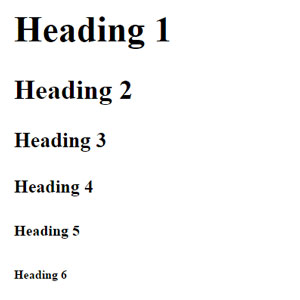
Most common headings are from 1 to 6, following a hierarchy: the lower the number, the more important it is within the content.
- Heading 1 – only one per page, the main title;
- Heading 2 – no quantity limits, we recommend it for the second most important title;
- Heading 3 – usually applied in subheads;
- Header 4, 5 and 6 – used after these cited.
Put into practice these tips with EasyPress builder, by Site.co. Just choose a WordPress template in our gallery and edit it with a few clicks. It’s totally visual – no coding skills needed! In addition, you get an e-mail account and can use your own custom domain name, all free!
